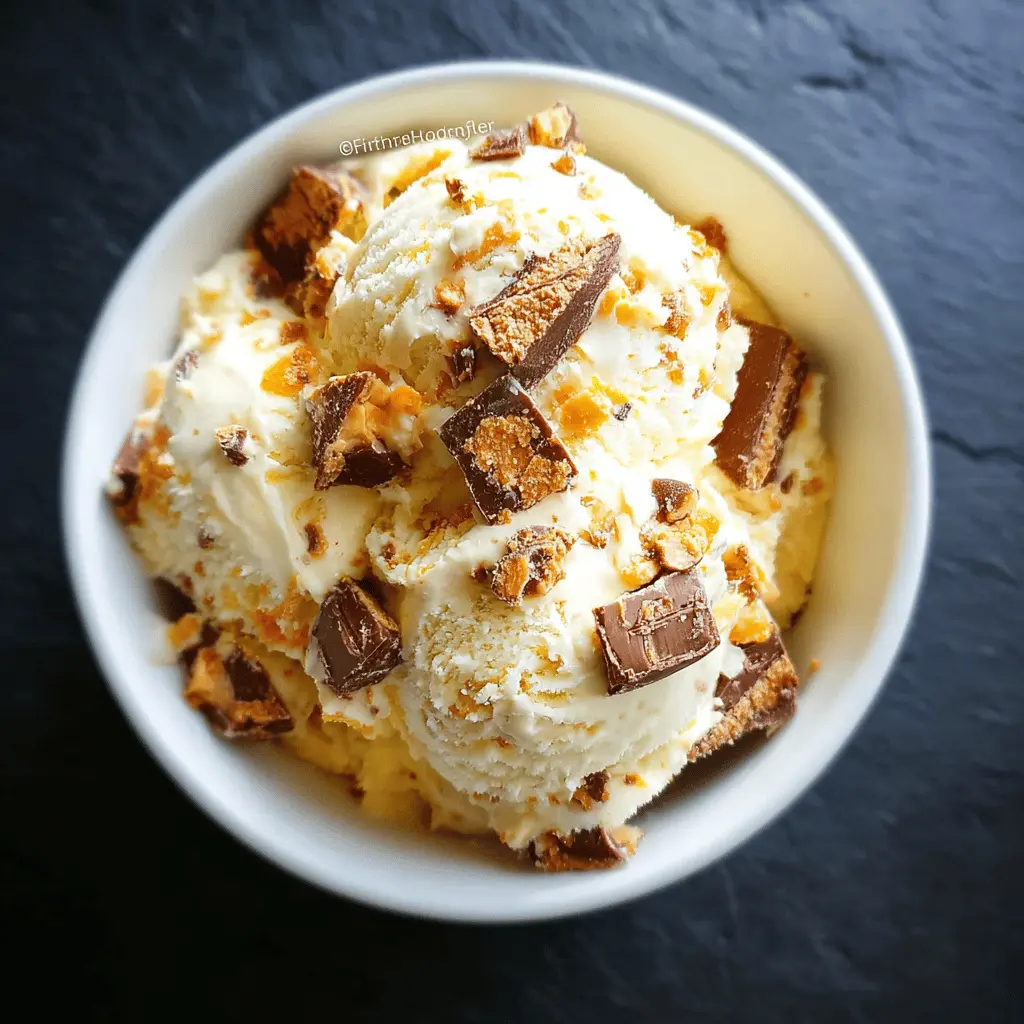
Imagine a scoop of incredibly creamy vanilla ice cream, generously studded with those unmistakable crispety, crunchety, peanut-buttery flakes of a Butterfinger candy bar. Now, imagine whipping up this dream dessert in your own kitchen, with less than 15 minutes of hands-on prep time. Sounds too good to be true? Not at all! Get ready to discover the magic of homemade butterfinger ice cream – a treat so simple and satisfying, you'll wonder why you ever bought it from the store.
This delightful dessert is a game-changer for anyone who loves the unique texture and flavor of Butterfinger candy. Forget complicated ice cream makers or lengthy churning processes. Our recipe focuses on a no-churn method that delivers a luxurious, velvety texture without any fancy equipment. It’s perfect for sharing with friends, delighting your family, or simply indulging in a well-deserved treat after a long day. So, let’s dive into how you can bring this irresistible sweetness to life!
The Magic Behind Homemade Butterfinger Ice Cream: Why It's a Game-Changer
There's a distinct difference between store-bought ice cream and the kind you lovingly craft at home, especially when it comes to something as specific as butterfinger ice cream. When you make it yourself, you control the quality of ingredients, ensuring freshness and avoiding unnecessary additives. This homemade version boasts an unparalleled creaminess that perfectly complements the satisfying crunch of the Butterfinger bits. Each spoonful offers a harmonious blend of rich vanilla, sweet condensed milk, and that signature peanut-buttery, toffee-like candy explosion.
Beyond the superior taste and texture, there's immense satisfaction in creating a beloved treat from scratch. It's an activity that transforms simple ingredients into something extraordinary, providing a wonderful sense of accomplishment. Plus, homemade ice cream offers the flexibility to customize. Want more Butterfinger? Go for it! Craving an extra drizzle of caramel? Absolutely! This freedom of creation truly elevates the experience, making your butterfinger ice cream uniquely yours and undeniably better.
Your 15-Minute Path to Creamy, Crunchy Perfection
The beauty of this butterfinger ice cream recipe lies in its sheer simplicity and incredibly short prep time. You're looking at just about 15 minutes of active kitchen work to get everything mixed and ready for the freezer. The secret? A brilliant no-churn method that relies on the natural creaminess of heavy whipping cream and the stabilizing power of sweetened condensed milk. This dynamic duo creates a rich, smooth base without the need for an expensive ice cream machine.
To make your 15-minute prep even smoother, we recommend a little mise en place – getting all your ingredients measured and ready before you start. This includes having your heavy cream thoroughly chilled and your Butterfinger bars roughly chopped. With everything at your fingertips, you'll breeze through the mixing steps, leaving you more time to anticipate the delicious reward. For a detailed guide on this simple process, you can discover how to make Easy Homemade Butterfinger Ice Cream with no fancy equipment.
Essential Ingredients for Your Butterfinger Ice Cream Masterpiece
Crafting the perfect no-churn butterfinger ice cream requires just a handful of key ingredients, each playing a vital role in achieving that dreamy texture and irresistible flavor:
- Heavy Whipping Cream (2 cups): This is the foundation of your ice cream's luxurious creaminess. The high-fat content of heavy cream (typically 36% or more) allows it to whip up into stiff peaks, incorporating air that gives your ice cream its light, fluffy texture. While whole milk might seem like a lighter option, its lower fat content won't produce the same rich, airy result and can lead to an icier consistency. Always start with thoroughly chilled cream for the best whipping results.
- Sweetened Condensed Milk (1 (14 oz) can): More than just a sweetener, condensed milk contributes significantly to the creamy texture and helps prevent the formation of large ice crystals. Its thick, sugary consistency also lowers the freezing point of the mixture, resulting in a softer, more scoopable ice cream. If you're exploring sugar-free alternatives, be aware that the texture and flavor might vary, as sugar plays a crucial role in the overall structure and mouthfeel of the ice cream.
- Butterfinger Candy Bars (3 bars, approx. 4.5 oz total): The star of the show! These iconic candy bars bring their signature "crispety, crunchety, peanut-buttery" magic to every bite. The combination of flaky peanut butter brittle and a thin chocolate coating provides an unparalleled textural contrast that elevates this dessert. If Butterfingers are hard to find, similar chocolate-covered toffee or peanut butter brittle bars could work in a pinch, but for authentic butterfinger ice cream, the original is best. For easy chopping, place the bars in a sturdy freezer bag and crush them with a rolling pin, or use a sharp knife.
- Vanilla Extract (1 teaspoon): A touch of vanilla is crucial for enhancing the overall flavor profile. It brightens the sweetness and adds a comforting warmth that complements the peanut butter notes of the Butterfinger. For an even more intense and visually appealing result, consider using vanilla bean paste. It provides a richer vanilla flavor and those beautiful little specks that signal quality.
Mastering the Whip: The Secret to Silky Smooth Butterfinger Ice Cream
Achieving the perfect, airy base for your butterfinger ice cream hinges on properly whipping the heavy cream to stiff peaks. This step is critical, but easily mastered with a few key tips:
- Start Cold: Always begin with heavy cream that's straight out of the refrigerator. Cold cream whips faster and produces more stable peaks because the fat molecules are firmer and emulsify more effectively. For an extra boost, you can even chill your mixing bowl and beaters in the freezer for 10-15 minutes before starting.
- Clean and Dry Equipment: Ensure your mixing bowl and whisk attachments are immaculately clean and completely dry. Any grease or water can prevent the cream from whipping properly, leaving you with a runny mixture.
- Choose Your Weapon: An electric mixer (either a stand mixer with a whisk attachment or a hand-held mixer) is the easiest and most efficient tool. Set it to medium speed initially to incorporate air, then increase to high. If you prefer a workout, a balloon whisk and some elbow grease will also get the job done!
- Watch for Stiff Peaks: As you beat the cream, it will progress through several stages: soft peaks (where the cream holds shape but the tip flops over), medium peaks (where it holds shape but the tip gently curls), and finally, stiff peaks. Stiff peaks are formed when you lift the beaters and the cream holds its shape rigidly, forming a distinct point that doesn't droop. This is the ideal consistency for your ice cream base. For more detailed insights into achieving the perfect creamy and crunchy texture, you can unlock creamy, crunchy butterfinger ice cream at home with expert tips.
- Don't Over-Whip: Be attentive! Over-whipping can quickly turn your beautiful cream into butter. Stop mixing as soon as stiff peaks form. The moment the cream starts to look grainy or separates, you've gone too far.
Step-by-Step: Crafting Your Own Butterfinger Ice Cream
With your ingredients ready and your whipping skills honed, let's assemble your homemade butterfinger ice cream:
- Whip the Cream to Perfection: In a large, chilled mixing bowl, pour in your cold heavy whipping cream. Using an electric mixer, beat the cream on high speed until it forms stiff peaks. Remember, the cream should hold its shape firmly when you lift the beaters, signaling a perfect, airy base.
- Fold in Sweetness and Flavor: Gently, but thoroughly, fold the sweetened condensed milk and vanilla extract into the whipped cream using a spatula. The key here is to maintain as much of that airy volume as possible from the whipped cream, so use a light hand. Mix until just combined, ensuring no streaks of condensed milk remain.
- Introduce the Crunch: Now for the star ingredient! Carefully fold in your roughly chopped or crushed Butterfinger candy bars. Distribute them evenly throughout the mixture so that every single scoop of your butterfinger ice cream guarantees those delightful, crunchy bits.
- Freeze the Mixture: Transfer the ice cream mixture into a freezer-safe container. An airtight container works best to prevent freezer burn. Smooth out the top with your spatula. Now comes the hardest part: patience! You'll need to freeze the mixture for at least 6 hours, but for the best, firmest consistency, leaving it overnight is ideal. This allows the flavors to meld and the ice cream to set perfectly.
Creative Twists & Serving Suggestions for Your Butterfinger Ice Cream
While classic butterfinger ice cream is a treat unto itself, don't hesitate to get creative! Here are some ideas to elevate your dessert experience:
- Extra Swirls: Before freezing, drizzle some melted chocolate or caramel sauce into the mixture and lightly swirl it with a knife for an elegant marble effect and an extra layer of flavor.
- Nutty Additions: For an even more pronounced peanut butter kick, fold in a tablespoon or two of creamy or crunchy peanut butter along with the condensed milk. Or, sprinkle in some roasted, salted peanuts for extra texture.
- Mix-in Marvels: Beyond Butterfinger, consider adding mini chocolate chips, chopped pretzels for a salty crunch, or even small brownie chunks for a truly indulgent experience.
- Serving Sensations: Serve your homemade butterfinger ice cream in a classic waffle cone, piled high in a sundae glass with whipped cream and a cherry, or as an à la mode accompaniment to warm apple pie or chocolate lava cake. It also makes an incredible base for a rich and creamy milkshake!
- Garnish Galore: A final sprinkle of extra crushed Butterfinger on top, a drizzle of hot fudge, or a dollop of fresh whipped cream can turn a simple scoop into a showstopper.
Whipping up homemade butterfinger ice cream is a truly rewarding experience, offering an unparalleled level of freshness, flavor, and customization that store-bought versions simply can't match. With just 15 minutes of prep time and a few simple ingredients, you can create a creamy, crunchy masterpiece that will delight everyone who tastes it. The minimal effort for such an incredible payoff makes this recipe a must-try for any dessert lover. So go ahead, gather your ingredients, and get ready to enjoy the ultimate frozen treat!
