Easy Homemade Butterfinger Ice Cream: Your No-Churn Dessert Dream
Imagine a dessert that combines the rich, creamy indulgence of homemade ice cream with the irresistible, crunchy, peanut-buttery goodness of your favorite Butterfinger candy bar. Now, imagine making it without an ice cream maker, complicated steps, or hours of effort. Sounds too good to be true? Think again! This guide will show you how to create the most incredible homemade Butterfinger ice cream right in your kitchen, requiring no fancy equipment and minimal prep time.
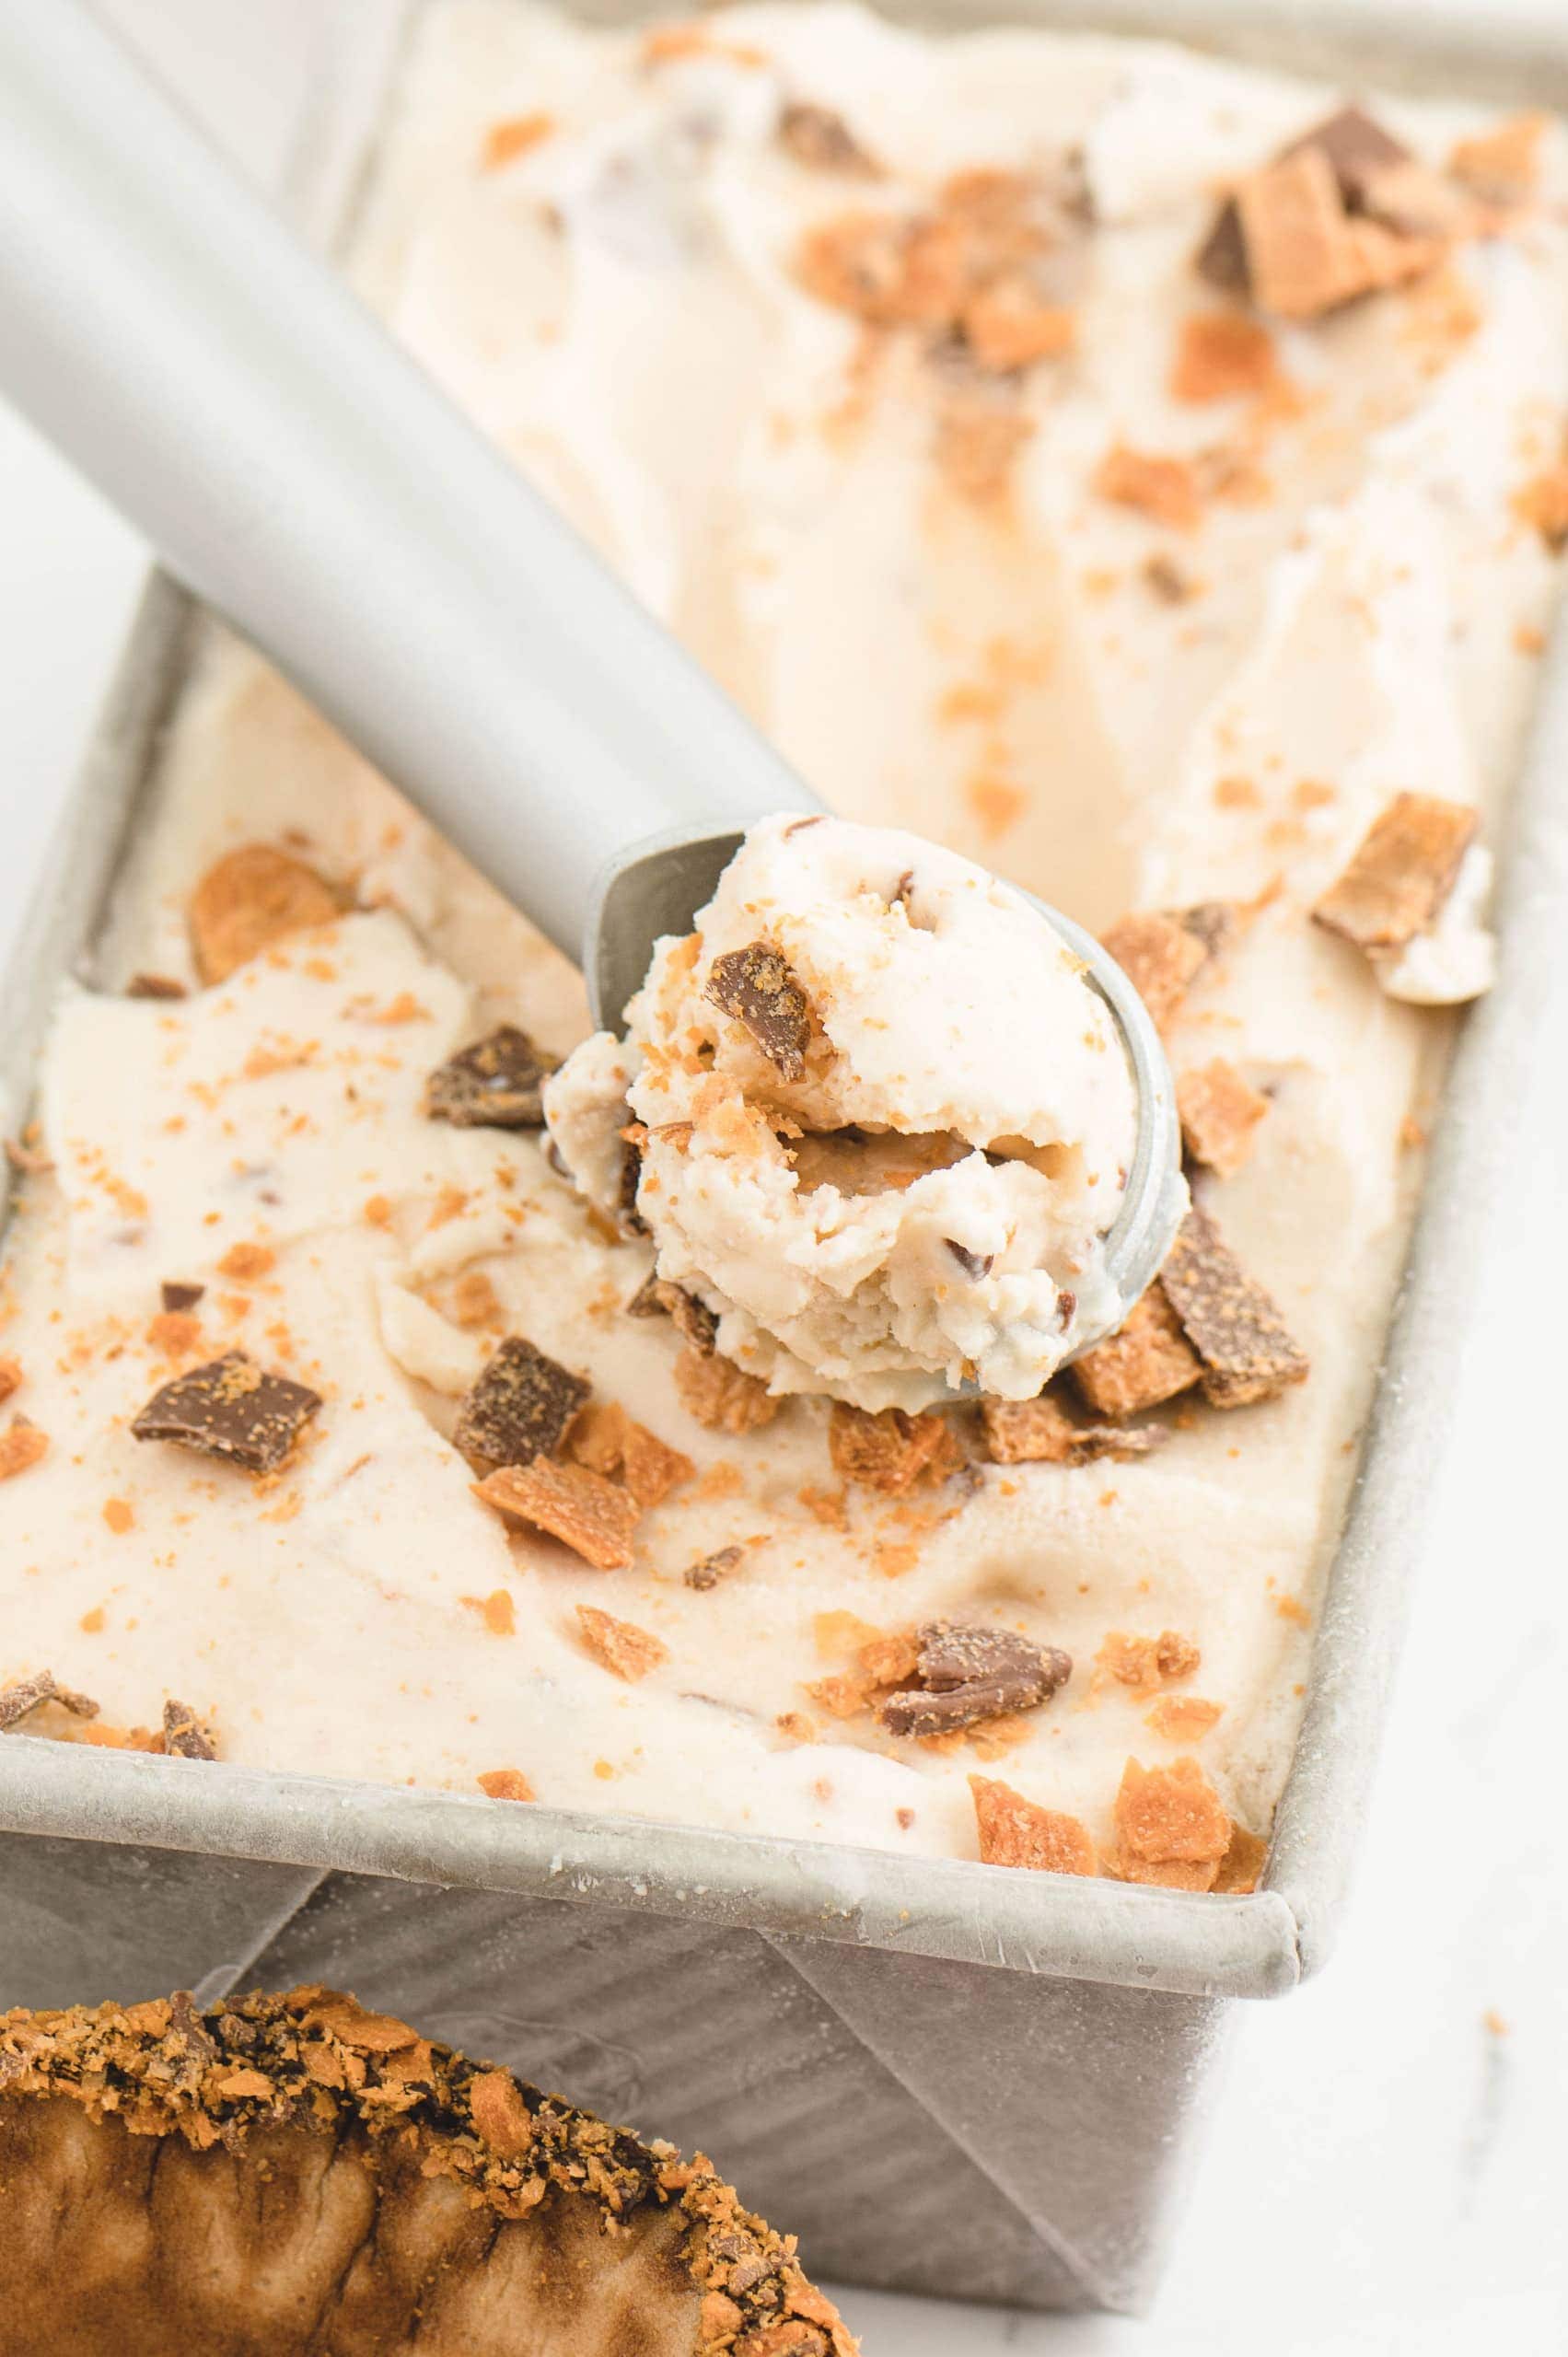
Say goodbye to store-bought pints and hello to a luscious, satisfying treat that will impress family and friends alike. This isn't just a recipe; it's an invitation to experience the joy of crafting a delightful dessert from scratch, brimming with those iconic "crispety, crunchety" Butterfinger flakes and chunks. Get ready to scoop up pure happiness!
Why No-Churn is Your New Best Friend for Butterfinger Ice Cream
The beauty of no-churn ice cream lies in its remarkable simplicity and accessibility. For years, making ice cream at home felt like a daunting task reserved for those with expensive, bulky machines. Not anymore! The no-churn method, utilizing just a few key ingredients and a bit of freezer time, democratizes the art of homemade ice cream, making it achievable for anyone. It's especially perfect for infusing the unique texture and flavor of Butterfinger candy bars into a frozen delight.
Beyond the ease, there are several compelling reasons to embrace the no-churn approach for your next dessert:
- No Special Equipment: Forget about ice cream makers, rock salt, or elaborate freezing bowls. All you need is a mixing bowl, an electric mixer (or a strong arm and a whisk!), and a freezer-safe container.
- Minimal Prep Time: This recipe clocks in at around 15 minutes of active preparation. The rest is patient waiting while your freezer works its magic. If you're looking for a quick yet impactful dessert, Whip Up Butterfinger Ice Cream in Just 15 Minutes Prep.
- Incredible Creaminess: Don't let the simplicity fool you; no-churn ice cream consistently delivers a wonderfully creamy, rich texture that rivals churned varieties.
- Endless Customization: While we're focusing on butterfinger ice cream today, the no-churn base is a canvas for countless flavor combinations, making it a versatile staple in your dessert repertoire.
It's truly a game-changer for anyone who loves the idea of homemade treats but is short on time or specialized gadgets. Get ready to Unlock Creamy, Crunchy Butterfinger Ice Cream at Home with this straightforward method.
The Essential Ingredients for Your Creamy, Crunchy Creation
Making outstanding no-churn butterfinger ice cream relies on just a handful of star ingredients. Each plays a crucial role in achieving that perfect balance of sweetness, creaminess, and the signature Butterfinger crunch.
Heavy Whipping Cream: The Foundation of Creaminess
This is arguably the most vital component. Heavy whipping cream, with its high-fat content (typically 36% or more), is what provides the rich, luxurious texture and forms the airy, stable base for your ice cream. When whipped, it incorporates air, which prevents large ice crystals from forming, resulting in a smooth, dreamy consistency. For best results, ensure your cream is well-chilled before whipping; cold cream whips up faster and holds its shape better.
- Substitution Note: While some recipes suggest whole milk for a lighter option, be aware that substituting heavy cream will significantly alter the texture and richness. For true ice cream indulgence, stick with heavy whipping cream.
Sweetened Condensed Milk: Sweetness and Structure
Sweetened condensed milk is the unsung hero of no-churn ice cream. It serves a dual purpose: providing the necessary sweetness and contributing to the creamy, scoopable texture. Its high sugar content helps lower the freezing point of the mixture, preventing it from freezing solid and rock-hard. This is key to achieving that smooth, pliable scoop straight from the freezer.
- Substitution Note: Regular milk and sugar cannot be directly substituted for sweetened condensed milk without drastically changing the recipe's chemistry and end result. If you're exploring sugar-free options, be mindful that flavor profiles can vary, so choose a brand you trust.
Butterfinger Candy Bars: The Star of the Show
Of course, you can't have butterfinger ice cream without Butterfinger! These iconic candy bars bring their unique "crispety, crunchety, peanut-buttery" texture and unmistakable flavor. The blend of crispy, flaky peanut butter candy coated in chocolate creates a delightful contrast against the smooth ice cream base.
- Preparation Tip: For the perfect crunch in every bite, chop your Butterfinger bars into varying sizes—some finer flakes for overall distribution and some larger chunks for a more substantial bite. A food processor can make quick work of this, but a good old-fashioned knife and cutting board (or even crushing them in a bag with a rolling pin) works just as well.
- Substitution Note: If Butterfinger isn't available or you're experimenting, chocolate-covered toffee or other peanut butter candies can offer a fun, similar crunch and flavor profile. However, for an authentic butterfinger ice cream experience, the original is best!
Vanilla Extract: The Flavor Enhancer
A touch of vanilla extract is crucial for rounding out the flavors and adding a warm, aromatic depth to the ice cream. It complements both the creamy base and the peanut butter notes of the Butterfinger candy.
- Upgrade Tip: If you have vanilla bean paste, use it! It delivers a more intense, complex vanilla flavor and adds beautiful, visible specks, elevating the visual appeal of your homemade treat.
Mastering the Whip: Achieving Perfect Stiff Peaks
The secret to light and airy no-churn ice cream lies in properly whipped heavy cream. This step is critical, so pay close attention to the details:
- Start Cold: Always begin with heavy whipping cream that is thoroughly chilled. Cold cream whips faster and achieves a more stable structure. You can even chill your mixing bowl and beaters in the freezer for 10-15 minutes beforehand to give yourself an extra edge.
- Clean and Dry: Ensure your mixing bowl and whisk attachments (or whisk, if whipping by hand) are perfectly clean and dry. Any grease or moisture can prevent the cream from whipping properly.
- Whip Progressively: Using an electric mixer (handheld or stand mixer), start beating the cold cream on medium speed. This gently incorporates air. As the cream begins to thicken and small bubbles appear, increase the speed to high.
- Watch for Stiff Peaks: Continue beating on high speed. The cream will progress through several stages:
- Soft Peaks: The cream will be thickened and airy, but when you lift the beaters, the peak will droop slightly.
- Medium Peaks: The peak will hold its shape more firmly but still have a slight curl at the tip.
- Stiff Peaks: This is your goal! When you lift the beaters, the cream should stand up straight and hold its shape without drooping. The texture will be smooth and airy, like a cloud.
- Avoid Over-Whipping: Be vigilant once you reach stiff peaks. Over-whipping can cause the cream to separate and become grainy, eventually turning into butter. Stop beating as soon as stiff peaks are formed.
- Manual Whipping (for the dedicated!): If you don't have an electric mixer, you can absolutely whip cream by hand with a sturdy whisk. It requires more effort and time (consider it a workout!), but the result is just as satisfying.
Step-by-Step Instructions: Your Dream Butterfinger Ice Cream Awaits
With your ingredients ready and your whipping skills honed, let's assemble this delicious homemade Butterfinger ice cream.
- Whip the Cream to Stiff Peaks: In a large, chilled mixing bowl, pour in your cold heavy whipping cream. Using an electric mixer on high speed, beat the cream until stiff peaks form. Remember, the cream should hold its shape firmly when you lift the beaters. This airy foundation is key to a light and creamy ice cream.
- Gently Fold in the Sweetness: Carefully pour the sweetened condensed milk and vanilla extract (or vanilla bean paste) into the whipped cream. Using a spatula, gently fold these ingredients together. The key here is to use a light, upward motion to combine them without deflating the airy structure of the whipped cream. You want to maintain as much of that incorporated air as possible for the creamiest result.
- Introduce the Butterfinger Crunch: Now for the star! Add your roughly chopped or crushed Butterfinger candy bars to the mixture. Again, use a gentle folding motion with your spatula to evenly distribute the crunchy bits throughout the ice cream base. For an extra flourish, you might reserve a small handful of chopped Butterfinger to sprinkle on top before freezing.
- Prepare for Freezing: Transfer the entire mixture into a freezer-safe container. A standard loaf pan (about 9x5 inches) works wonderfully, or any other airtight container will do. Smooth the top with your spatula.
- The Waiting Game (The Hardest Part!): Cover the container tightly with plastic wrap, pressing it directly onto the surface of the ice cream mixture to prevent ice crystals from forming. Then, cover it with an airtight lid or another layer of plastic wrap. Place it in the freezer for a minimum of 6 hours, but ideally overnight, to allow it to set completely and achieve the perfect scoopable consistency.
Serving Suggestions and Creative Variations
Once your butterfinger ice cream is perfectly frozen, it's time to enjoy the fruits of your labor!
- The Perfect Scoop: For the smoothest scoop, let your ice cream sit at room temperature for 5-10 minutes before serving. This allows it to soften slightly, making it easier to glide through with your scoop.
- Elevate Your Bowl: Serve your homemade Butterfinger ice cream as is, or dress it up with extra toppings. A drizzle of chocolate syrup, a dollop of whipped cream, or a sprinkle of additional Butterfinger crumbs can take it to the next level.
- Beyond Butterfinger: While Butterfinger is undoubtedly a winner, this no-churn base is incredibly versatile. Experiment with other mix-ins like crushed Oreos, M&Ms, chopped Snickers, brownie bits, cookie dough, or even fruit purees for endless dessert possibilities.
Conclusion
Who knew such a decadent, crowd-pleasing dessert could be so incredibly simple to make? This easy homemade Butterfinger ice cream recipe proves that you don't need an ice cream maker or culinary expertise to create something truly special. With just a few basic ingredients and a little patience, you can whip up a batch of creamy, crunchy, peanut-buttery bliss that's far superior to anything you'll find in the grocery store.
So, gather your ingredients, follow these simple steps, and prepare to delight your taste buds. This no-churn wonder is more than just a dessert; it's a sweet, satisfying experience waiting to happen. Enjoy every "crispety, crunchety" scoop!
